
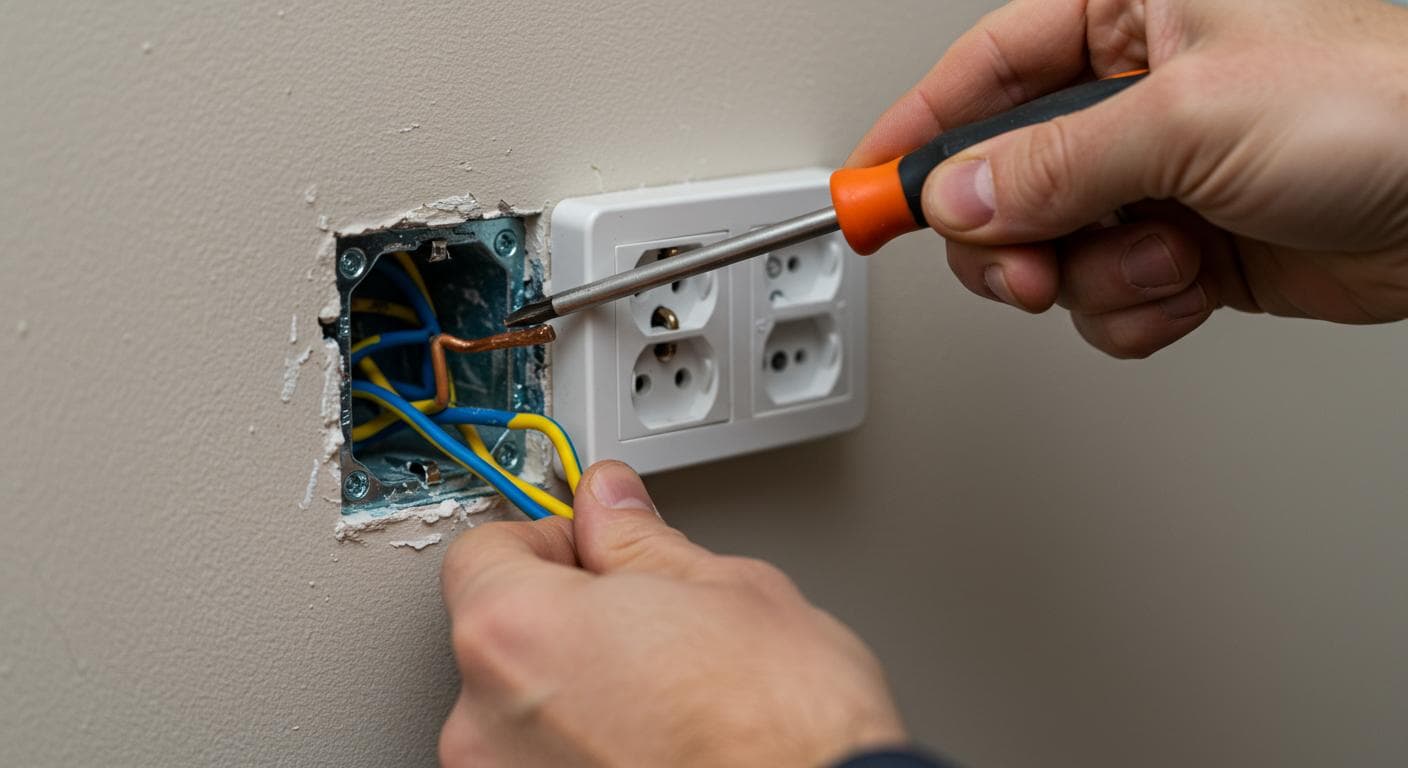
Wiring an outlet is one of the most common electrical tasks homeowners attempt. Done correctly with power confirmed off and wires connected to the right terminals, a straightforward outlet swap takes less than 30 minutes. Done incorrectly, it can cause a fire inside your wall, a fatal shock or a tripped breaker every time you plug something in. The difference is almost always in the preparation, not the complexity.
This guide covers everything a homeowner needs to know before touching an outlet: the different outlet types and what each does, the tools required, how to safely kill power and confirm it is actually off, the complete wiring sequence for both standard and GFCI outlets, the difference between replacing and adding an outlet, permit rules in Ohio cities like Columbus, Cleveland and Cincinnati and the clear line between a safe DIY job and one that needs a licensed electrician.
Types of Electrical Outlets and What They Do
Not all outlets are interchangeable. Installing the wrong type in the wrong location violates the Ohio Residential Code, which adopts the National Electrical Code (NEC) with state amendments. Here are the outlet types you will encounter in Ohio homes:
Standard 15-Amp Outlet (NEMA 5-15)
The most common outlet in North American homes. Two vertical slots plus a round ground hole. Rated for 15 amps at 120 volts. Used in bedrooms, living rooms and hallways on general-purpose circuits. The wiring is simple: hot (black) to the brass screw, neutral (white) to the silver screw and ground (bare copper or green) to the green screw.
20-Amp Outlet (NEMA 5-20)
Visually similar to a 15-amp outlet but one of the vertical slots has a horizontal notch at the top. Required on dedicated 20-amp circuits for kitchen countertop receptacles, bathroom outlets and laundry rooms per NEC 210.52. You must have 12-gauge wire and a 20-amp breaker for this circuit. Never install a 20-amp outlet on 14-gauge wiring or a 15-amp breaker.
GFCI Outlet (Ground Fault Circuit Interrupter)
Has TEST and RESET buttons in the center of the face. Required by Ohio code in bathrooms, kitchens within 6 feet of a sink, garages, outdoors, unfinished basements and near pools or hot tubs. Trips in 1/40th of a second when it detects a ground fault of 5 milliamps or more. One GFCI outlet can protect all downstream outlets on the same circuit when wired through the LOAD terminals.
AFCI Outlet (Arc Fault Circuit Interrupter)
Required by NEC 2020 (which Ohio has adopted) on all bedroom, living room, dining room, hallway and most other circuits in new construction and full remodels. Detects the electrical signature of dangerous arc faults, which cause roughly 30,000 home fires in the US every year. Most homes built before 2000 do not have AFCI protection. If you are replacing an outlet in a bedroom and your breaker is not already an AFCI breaker, upgrading is code-compliant and genuinely safer.
USB Combo Outlet
A standard 15-amp or 20-amp outlet combined with one or two USB-A or USB-C charging ports built into the face. Wired identically to a standard outlet. The USB ports draw directly from the circuit with no additional wiring needed. Useful in kitchens, home offices and bedside installations. Check the amperage rating of the USB ports (typically 2.4 to 5 amps combined) before purchasing.
Tools and Materials You Need
Tools
· Non-contact voltage tester (essential, never skip this)
· Flathead and Phillips screwdrivers
· Needle-nose pliers
· Wire stripper
· Utility knife
· Outlet tester (3-light plug-in tester)
· Flashlight or headlamp
· Electrical tape
Materials
· Replacement outlet (match type and amperage to existing)
· Wire nuts (if splicing)
· Electrical box (if adding a new location)
· 14-gauge or 12-gauge NM cable (matching existing circuit)
· Outlet cover plate
· Cable staples (if running new wire)
The non-contact voltage tester is non-negotiable. It costs between $15 and $40 at any hardware store in Columbus or Cleveland and confirms power is actually off before your hands go anywhere near the wiring. Circuit breaker labels are notoriously inaccurate in older Ohio homes. Test before you touch.
How to Turn Off Power and Confirm It Is Off
This step is where people get hurt. Flipping what you think is the right breaker and then proceeding without testing is the leading cause of electrical injuries during DIY outlet work.
Step 1: Identify the correct breaker
Go to your main electrical panel, usually in the basement, utility room or garage. Find the breaker labeled for the circuit you are working on. In many older Ohio homes, labels are missing or wrong. Plug a lamp or phone charger into the outlet, turn it on, then flip breakers one at a time until the device goes off. Label the correct breaker before you proceed.
Step 2: Flip the breaker to OFF
Push the breaker firmly to the OFF position. A breaker that has tripped sits in a middle position and needs to be pushed fully to OFF before flipping back ON. Lock out the panel if other people are in the house who might accidentally restore power.
Step 3: Test the outlet with your voltage tester
Hold the non-contact voltage tester near each slot of the outlet. The tester beeps and lights up red if voltage is present. No beep means no voltage. Test both slots and the area around the ground hole. Then insert the tester into the outlet itself while wiggling it slightly. A reliable result is two full passes with no beep or light.
Step 4: Remove the cover plate and test again
Unscrew the center screw on the cover plate and pull it off. Remove the two screws holding the outlet body to the electrical box and pull the outlet forward carefully. Hold the voltage tester near each wire in the box before touching anything. The box may contain wires from multiple circuits, especially in older Cleveland and Columbus homes with multi-wire branch circuits. Test every wire.
How to Wire a Standard Outlet: Step-by-Step
With power confirmed off, you can begin. Standard outlet wiring follows a simple color code that applies to virtually every residential circuit in Ohio: black is hot, white is neutral and bare copper (or green insulated) is ground. Memorize this and you will not make the critical connection errors.
Step 1: Photograph the existing wiring
Before disconnecting anything, take a clear photo of the old outlet with all wires attached. This gives you a reference if anything looks confusing during reassembly. Note which screw each wire color is connected to.
Step 2: Disconnect the old outlet
Loosen each screw terminal and remove the wires or cut the wire nuts if wires are pigtailed. If wires are inserted into the back of the outlet using the push-in (backwire) holes rather than screw terminals, insert a small flathead screwdriver into the release slot next to each hole to free them. Never use push-in back wiring on a replacement outlet. The screw terminals are more secure and less likely to fail over time.
Step 3: Strip the wire ends if needed
Each wire end should have about 3/4 inch of insulation stripped. If the wire ends are nicked, corroded or have insufficient length, use a wire stripper to expose fresh copper. The copper should be bright and clean. Wrap any wire end that will not be connected with electrical tape.
Step 4: Connect the ground wire first
The bare copper or green wire connects to the green screw on the bottom of the outlet. Make a clockwise J-hook in the wire with needle-nose pliers, loop it around the screw from left to right, then tighten firmly. The clockwise direction matters: tightening the screw pulls the wire deeper into the hook rather than pushing it out.
Step 5: Connect the neutral wire
The white (neutral) wire connects to the silver screw on the left side of the outlet. Same technique: J-hook clockwise, tighten firmly. The silver screw is wider and has a slightly ribbed finish compared to the brass screws. If you have two white wires (outlet is mid-run on a circuit), connect both using a short pigtail wire to the screw: wire-nut both incoming white wires plus a short white pigtail, then connect the pigtail to the silver screw.
Step 6: Connect the hot wire
The black (hot) wire connects to the brass (gold-colored) screw on the right side of the outlet. Same J-hook clockwise method, tighten firmly. If there are two black wires (mid-run circuit), pigtail them the same way as the neutral. The hot wire carries the live voltage that powers the outlet. This connection must be mechanically tight with no exposed copper visible past the screw head.
Step 7: Fold wires into the box and set the outlet
Fold the wires in a gentle accordion fold. Do not force or kink them. The outlet should sit flush in the box without the wires bunching behind it. If the box is crowded, check that no wires are pinched between the outlet body and the box edges. Insert the two mounting screws and tighten until the outlet is snug but not cracked. Attach the cover plate.
Step 8: Restore power and test
Flip the breaker back to ON. Plug a 3-light outlet tester into the new outlet. The correct indicator pattern is two amber lights and one light off (marked CORRECT on the tester body). Any other pattern means a wiring error. The most common wrong result is OPEN GROUND (ground wire not connected) or HOT/NEUTRAL REVERSED (wires on the wrong screws). If you see an error, power off immediately and recheck your connections.
How to Wire a GFCI Outlet: Line vs Load
GFCI outlets have four terminals instead of two: a LINE pair (brass and silver marked LINE) and a LOAD pair (brass and silver marked LOAD). Getting these right is critical. Mixing them up is the most common GFCI wiring mistake and will cause the outlet to trip instantly or fail to protect the circuit.
LINE terminals (incoming power from the panel)
Connect the wires coming FROM the breaker panel to the LINE terminals. Black hot to LINE brass, white neutral to LINE silver. These are the wires that bring power into this outlet from the circuit. If you only have one cable entering the box (end-of-run outlet), these are your only connections. Leave the LOAD terminals empty and keep the factory-installed LOAD port covers in place.
LOAD terminals (power going to downstream outlets)
If there is a second cable exiting this box toward other outlets on the same circuit, those wires connect to the LOAD terminals. Black hot to LOAD brass, white neutral to LOAD silver. Wiring downstream outlets through the LOAD terminals gives every outlet downstream full GFCI protection from this single device. This is the correct and code-compliant way to protect a bathroom circuit with multiple outlets.
Ground terminal
The bare copper or green wire connects to the green ground screw, same as a standard outlet. The GFCI protection works even without a ground wire connected, but you must connect ground if the wire is present. An ungrounded GFCI outlet is still code-compliant in older homes where no ground wire exists, but it must be labeled GFCI Protected / No Equipment Ground.
How to identify which cable is LINE
This confuses a lot of homeowners. With power OFF, one method is to temporarily restore power (carefully, without touching wires) and use your non-contact voltage tester near each cable. The cable from the panel will show voltage on the black wire. Mark that cable LINE, cut power again, then proceed with your connections. If you are not comfortable doing a live identification test, call a licensed electrician.
Replacing an Outlet vs Adding a New One
These are fundamentally different tasks. Replacing a like-for-like outlet in the same box is a simple swap that takes 20 to 30 minutes for most homeowners. Adding a new outlet at a new location is a significant electrical project that almost always requires a permit in Ohio.
Replacing an existing outlet
Same box, same wiring, same amperage. Typically no permit needed in most Ohio jurisdictions for owner-occupied primary residences. Swapping a standard outlet for a GFCI or adding a USB combo outlet in the same box also qualifies as a replacement in most cities.
Adding an outlet to an existing circuit
Requires running new wire through walls to an existing circuit. Permit and inspection required in Columbus, Cleveland, Cincinnati and most Ohio municipalities. The circuit must have capacity for the additional load. This involves working inside finished walls and often requires an electrician with fishing experience.
Adding a new dedicated circuit
Running a new circuit from the main panel to a new outlet location. Always requires a permit and licensed electrician in Ohio. Required for large appliances, EV chargers, home offices with high electrical demand and kitchen countertop circuits. Working inside the panel without a license is illegal in Ohio.
Upgrading from 15-amp to 20-amp
Requires replacing both the outlet and the breaker and verifying the wire gauge is 12-gauge throughout the circuit. Permit required. Do not upgrade the outlet alone without confirming the wiring and breaker match.
Common Outlet Wiring Mistakes
Not confirming power is off before touching wires
The number one cause of electrical injuries in DIY work. Breaker labels in older Ohio homes are frequently wrong. Use a non-contact voltage tester on every wire every time, even if you are certain you got the right breaker.
Reversing hot and neutral
Black wire on the silver screw and white wire on the brass screw creates a reverse-polarity outlet. The outlet appears to work normally but the neutral side of connected devices is energized when off, creating a shock hazard. A 3-light outlet tester will immediately show HOT/NEUTRAL REVERSED. Fix it before using the outlet.
Using the push-in backwire terminals
The spring-clip backwire holes on the back of cheap outlets look faster but create a weaker mechanical connection that loosens over years of heating and cooling cycles. Arcing at loose backstab connections is a well-documented cause of residential fires. Always use the screw terminals.
Skipping the ground connection
An ungrounded outlet leaves you and your appliances without the safety path that diverts fault current away from you. In homes with metal conduit, the conduit itself provides grounding and ground wires may not be present. In homes with two-wire NM cable (no ground wire), the correct fix is installing a GFCI outlet and labeling it No Equipment Ground, not installing an ungrounded three-prong outlet.
Overtightening screws and cracking the outlet body
Outlet bodies are made of thermoplastic that cracks under excessive torque. A cracked outlet is a fire hazard and must be replaced. Tighten until snug and firm, not until you feel resistance increase sharply. If a screw strips or the body cracks, start with a new outlet.
Ohio Permit and Inspection Requirements
Ohio adopts the National Electrical Code on a rolling basis, with amendments by the Ohio Board of Building Standards. Individual cities and townships can add stricter requirements on top of the state baseline. Here is what you need to know before starting electrical work in Ohio:
Columbus (Franklin County)
Columbus Division of Building and Zoning Services requires a permit for all new wiring work and any work that requires opening walls or ceilings. Simple like-for-like outlet replacements in owner-occupied homes typically do not require a permit. Phone: 614-645-7433. Always confirm before starting.
Cleveland (Cuyahoga County)
Cleveland Department of Building and Housing requires permits for new circuits and any work beyond direct replacement. The city enforces GFCI requirements strictly in older housing stock. Violations discovered during home sales can delay closings significantly.
Cincinnati (Hamilton County)
Cincinnati Development Services requires permits for new electrical work. The city has adopted the 2020 NEC, including AFCI requirements for bedroom and living space circuits in remodeled work. Contact the Cincinnati Building Department at 513-352-3271.
General Ohio Rule
Any work that requires opening a panel, running new circuits or installing outlets in kitchens, bathrooms, garages or outdoors requires a permit and must be inspected. Working inside the main panel without an electrical contractor license is illegal under Ohio Revised Code 4740. Homeowners can pull their own permits for owner-occupied primary residences in most jurisdictions, but the work must still pass inspection.
When to Hire a Licensed Electrician
A direct outlet swap is within reach for a careful, methodical homeowner. These situations are not:
The wiring inside the box looks unusual
Aluminum wiring (silver-colored, common in Ohio homes built from 1965 to 1973), knob-and-tube wiring or multiple cables you cannot identify require a licensed electrician. Aluminum wiring needs special outlets, CO/ALR rated and anti-oxidant compound at every connection. Getting this wrong creates a serious fire risk.
You need a new circuit from the panel
Panel work requires an Ohio-licensed electrical contractor. Working inside the panel without a license is illegal under Ohio Revised Code 4740 and will void your homeowner insurance coverage for any resulting damage.
The breaker trips every time you restore power
A persistent trip after outlet replacement indicates a short or wiring fault that needs diagnosis with a multimeter. Continuing to reset the breaker can damage wiring and create a fire hazard.
The box has signs of heat damage or burn marks
Discolored outlets, melted insulation, a burning smell or blackened wires indicate an arcing problem that has already damaged the wiring. Replace one outlet on top of damaged wiring and you have solved nothing. A licensed electrician needs to inspect the full circuit.
You are prepping a home for sale
Ohio home inspectors are trained to identify DIY electrical work. Improper wiring discovered during a buyer inspection will require correction before closing, often at a premium cost and under time pressure. Getting it done right before listing is far less expensive.
In Columbus, Cleveland and Cincinnati, most licensed electricians charge between $75 and $200 for a single outlet replacement and $150 to $350 to add a new outlet on an existing circuit. For peace of mind, insurance compliance and code correctness, that cost is easy to justify on anything beyond a simple swap.
Need a Licensed Electrician in Ohio?
Contractor Palace matches you with independent electrical and smart home professionals across Ohio. Ask to see their license and insurance before work starts.
FAQ: Wiring an Outlet
Can a homeowner replace an electrical outlet in Ohio?
Yes. Ohio allows homeowners to replace a like-for-like outlet in their own primary residence without a permit in most jurisdictions. That said, adding a new circuit, moving an outlet to a new location, upgrading from a 15-amp to a 20-amp circuit or any work in a kitchen, bathroom or garage typically requires a permit and inspection. Always call your local building department before starting work. Rules vary between Columbus, Cleveland, Cincinnati and individual townships.
What is the difference between a GFCI and a standard outlet?
A standard outlet delivers power without any ground-fault protection. A GFCI (Ground Fault Circuit Interrupter) outlet monitors the difference in current between the hot and neutral wires. If that difference exceeds about 5 milliamps, indicating current is leaking to ground (through water, a faulty appliance or a person), the GFCI trips within milliseconds and cuts power. The Ohio Residential Code requires GFCI protection in all bathrooms, kitchens within 6 feet of a sink, garages, outdoors, unfinished basements and near pools. Do not skip GFCI outlets in these locations.
How do I know if my outlet is 15-amp or 20-amp?
Look at the outlet face. A standard 15-amp outlet has two vertical slots and a round ground hole in a T shape. A 20-amp outlet has one vertical slot and one T-shaped slot (one slot has a horizontal notch at the top). Also check the circuit breaker label or amperage stamped on the breaker. Never install a 20-amp outlet on a 15-amp circuit. The breaker will not trip fast enough to protect the wiring from overload. A 15-amp outlet on a 20-amp circuit is acceptable per NEC.
What does line vs load mean on a GFCI outlet?
The LINE terminals on a GFCI outlet connect to the wires coming from the breaker panel (incoming power). The LOAD terminals connect to any additional outlets wired downstream in the same circuit. When you wire downstream outlets to the LOAD terminals, the GFCI protects those outlets too. If you are replacing only one outlet and there are no downstream outlets, leave the LOAD terminals empty and use the LOAD port covers. Mixing up LINE and LOAD is one of the most common wiring mistakes and will cause the GFCI to trip immediately or fail to protect the circuit.
Why does my new outlet trip the breaker immediately?
An outlet that trips the breaker the moment power is restored usually has a wiring error. The most common causes are: hot and neutral reversed (black wire on silver screw, white wire on gold), a loose connection causing a short, a damaged wire with exposed copper touching the metal box or a GFCI outlet with LINE and LOAD wires reversed. Turn the power off at the breaker immediately, open the outlet box and re-check every connection against the wiring diagrams in this guide. If you cannot find the fault, call a licensed electrician.
How much does it cost to hire an electrician to replace an outlet in Ohio?
Most licensed electricians in Columbus, Cleveland and Cincinnati charge between $75 and $200 to replace a single standard outlet, including parts. A GFCI outlet replacement runs $100 to $250. Adding a brand-new outlet on an existing circuit (requires fishing wire through walls) typically costs $150 to $350 depending on access difficulty. Running a new dedicated circuit from the panel to a new outlet location ranges from $200 to $600 or more. These are 2025 Ohio market rates.
Contractor Palace
Get your electrical work done right: the first time.
From outlet replacements to full circuit upgrades, Contractor Palace connects you with independent Ohio electricians who are ready to work. Ask yours for their license and proof of insurance. Need to find electrical companies near you? We match you to one independent local pro.