
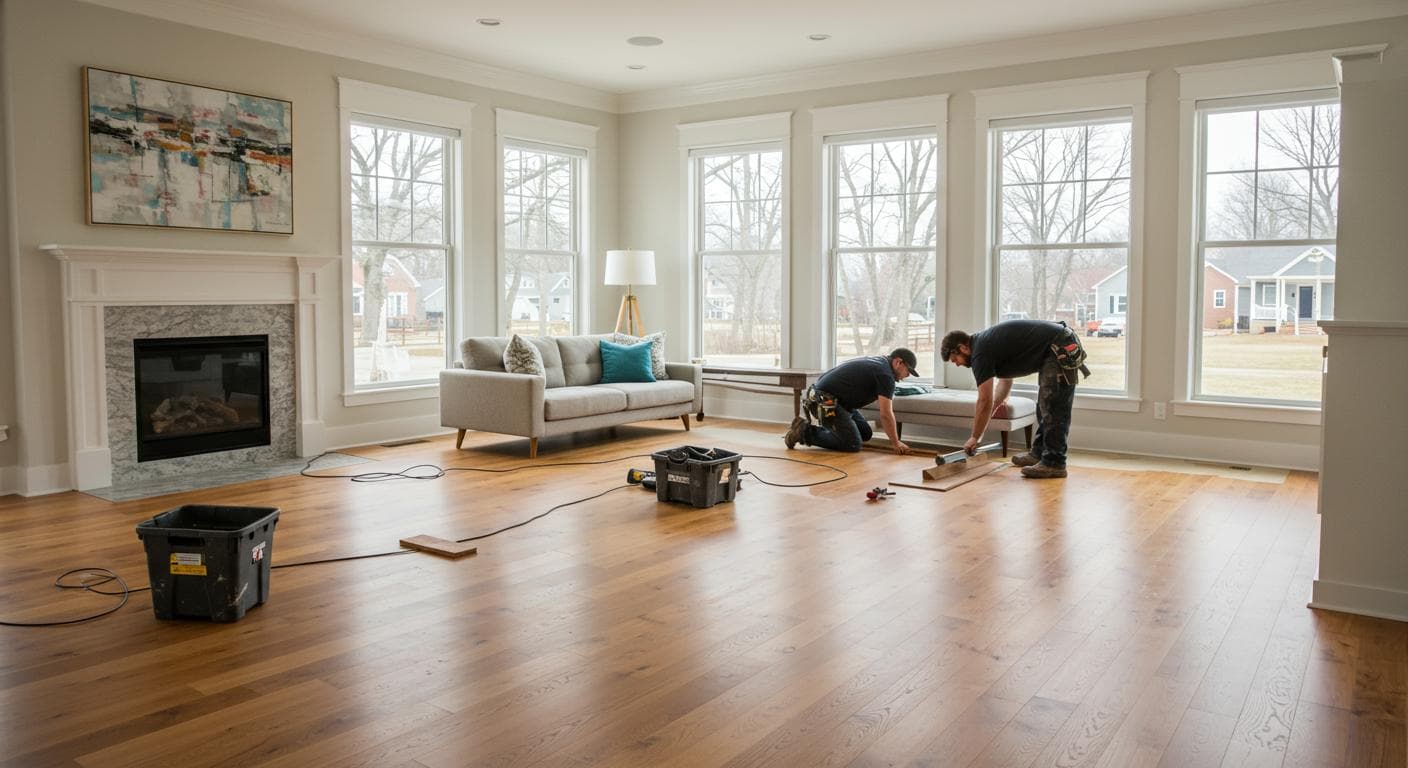
Tile flooring is one of the most durable and water-resistant flooring options available and one of the most punishing if installed incorrectly. Cracked grout, hollow tiles, lippage (uneven tile edges) and failed bonds are expensive to fix after the fact. The difference between a long-lasting installation and one that fails in two years almost always comes down to substrate preparation and technique, not the tile itself.
This guide covers everything homeowners need to know: understanding tile types and where each performs best, preparing the subfloor correctly, planning your layout, mixing and applying thinset mortar, setting tiles, grouting, sealing and the most common mistakes to avoid. We also help you figure out when the scope of the project warrants calling a professional tile installer.
Types of Tile: Which Is Right for Your Project?
The tile you choose affects installation difficulty, maintenance requirements and long-term durability. Here are the four main floor tile types Ohio homeowners work with:
Ceramic Tile
Ceramic tile is made from natural clay fired at lower temperatures than porcelain. It is softer, lighter and easier to cut, making it the most DIY-friendly option. Ceramic is suitable for bathroom floors, laundry rooms and low-traffic areas. It is more porous than porcelain and requires sealing in wet areas. Cost: $1 to $5 per square foot for the tile itself.
Porcelain Tile
Porcelain is denser, harder and less porous than ceramic, fired at higher temperatures with a more refined clay body. It handles freeze-thaw cycles well (important for Ohio garage floors and entryways), resists staining and holds up to heavy traffic. Porcelain is harder to cut and requires a diamond blade wet saw. Cost: $3 to $15+ per square foot. Recommended for kitchens, bathrooms, entryways and any high-traffic area.
Natural Stone (Marble, Slate, Travertine, Limestone)
Natural stone adds unique beauty and increases resale value. However, it requires sealing before grouting and again every 1 to 2 years to prevent staining and water penetration. Stone is heavy, confirm your subfloor can handle the weight and some types (marble, travertine) are soft enough to scratch and chip. Cost: $5 to $30+ per square foot. Best installed by an experienced professional for consistent results.
Glass Tile
Glass tile is used primarily for backsplashes and shower walls, not floors, it is too slippery and fragile for floor applications. If you are tiling a shower floor, choose a mosaic format porcelain or natural stone with a textured surface and a PEI slip-resistance rating of 3 or higher.
Tools and Materials Needed
Tools
· Wet tile saw with diamond blade
· Notched trowel (size depends on tile)
· Rubber mallet
· Tile spacers (or spacer clips)
· Level and straightedge
· Chalk line and tape measure
· Grout float
· Sponges and buckets
· Knee pads
· Margin trowel for mixing
Materials
· Tile (10 to 15% overage for cuts and waste)
· Polymer-modified thinset mortar
· Floor leveling compound (if needed)
· Cement backer board (if tiling over wood)
· Grout (sanded or unsanded per joint width)
· Grout sealer
· Tile sealer (for natural stone and unglazed tile)
· Silicone caulk (for corners and transitions)
· Transition strips
How to Install Tile Flooring: Step-by-Step
Step 1: Prepare the Subfloor
This is the most important step. Tile cannot tolerate a subfloor that flexes or deflects. For concrete slabs: fill any cracks with floor-leveling compound, grind down high spots and ensure the slab is clean, dry and free of any curing compounds or adhesive residue. For wood subfloors: the combined subfloor thickness must be at least 1-1/4 inches (typically 3/4-inch plywood plus 1/2-inch cement backer board). Install cement backer board over the wood subfloor, screwing it every 6 inches with backer board screws and taping all joints with alkaline-resistant mesh tape and thinset. A deflection test: place a level across the floor; if any area moves more than 1/8 inch over 10 feet, fix it before tiling.
Step 2: Plan Your Layout
Find the center of the room: snap chalk lines from the midpoints of opposite walls to create a cross at the true center. Dry-lay a row of tiles along each chalk line (without thinset) to preview how the layout works at the walls. You want balanced cuts on both sides of the room, avoid narrow slivers of tile at the edges. If the first row creates a sliver less than half a tile width, shift your starting point by half a tile. Also account for the direction tiles will be set and which direction you want the grout lines to run relative to room features like windows and doorways.
Step 3: Mix the Thinset Mortar
Mix polymer-modified thinset mortar according to the manufacturer's instructions, typically a ratio of powder to water that produces a peanut-butter consistency. It should hold a peak when you pull out the trowel without being stiff or crumbly. Mix for 5 minutes, let it slake (rest) for 10 minutes, then mix again briefly. Do not add extra water to thin it, this weakens the bond. Mix only as much as you can use in 30 minutes (working time varies by temperature and humidity).
Step 4: Set the Tiles
Spread thinset with the flat edge of the notched trowel, then comb through it with the notched edge at a consistent 45-degree angle to create uniform ridges. Set each tile with a slight twisting motion to collapse the ridges and maximize coverage. Use a rubber mallet and beating block (a flat piece of wood) to embed the tile evenly. For large-format tiles (18 inches and up), back-butter the tile as well as the floor. Insert spacers at all four corners to maintain consistent joint width. Check for level frequently and adjust thinset thickness as needed. Work in small sections, 4 to 8 square feet, before the thinset skins over.
Step 5: Cut Tiles for Edges
Measure and mark each border tile individually, walls are rarely perfectly straight. Use a wet tile saw for straight cuts and a tile nipper or angle grinder with a diamond blade for curved cuts around pipes or toilet flanges. For porcelain, always use a diamond blade wet saw, a dry snap cutter will chip or crack it. Make cuts last after all full tiles are set. Tip: label each cut tile with its position in pencil on the back before you cut.
Step 6: Grout the Joints
Wait at least 24 hours after setting the last tile before grouting. Remove all tile spacers. Mix grout per the manufacturer's directions to a smooth, lump-free consistency. Apply grout with a rubber float held at a 45-degree angle to the tiles, pressing firmly into the joints in a diagonal sweeping motion. Work in 20 to 30 square foot sections. After 15 to 20 minutes (when the grout has set slightly but not fully hardened), wipe the surface with a damp sponge in circular motions to remove the haze. Rinse the sponge frequently and wring it nearly dry before each pass. Avoid using too much water, it weakens grout. Do a final polish with a dry cloth 24 hours later.
Step 7: Seal and Finish
Grout is porous and stains easily. After it has cured for 48 to 72 hours, apply a penetrating grout sealer according to the manufacturer's instructions, typically brushed or rolled on and wiped off after 5 minutes. For natural stone tile, apply a tile sealer before grouting AND after. At all corners, perimeter joints and transitions where two surfaces meet (floor to wall, floor to tub), fill with silicone caulk (not grout), it flexes with the building and prevents cracking. Install transition strips at doorways where the tile meets another flooring type.
Common Tile Installation Mistakes
Tiling over a flexible or wet subfloor
Any flex in the substrate will crack grout and eventually debond tiles. Fix deflection first, add subfloor layers, sistered joists or floor leveler. Never tile over a subfloor with active moisture or an unsealed crack.
Not back-buttering large-format tiles
Tiles larger than 15 inches need thinset applied to both the floor AND the back of the tile. Without back-buttering, large tiles bridge over ridges and leave hollow voids underneath, causing cracking and eventually tile failure.
Grouting in corners
Corners are movement points where the floor meets the wall. Grout will always crack here. Use color-matched silicone caulk in all interior corners. This is what professional tile setters do and it is what the Tile Council of North America specifies.
Using too much water when sponging grout
Excess water on the surface dilutes the cement binder in the grout, weakening it and causing a chalky, powdery surface. Wring your sponge nearly dry before each pass. It should feel barely damp, not wet.
Installing tile in cold conditions
Thinset and grout require temperatures above 50°F during installation and for at least 24 hours after. In Ohio's climate, this matters for basement and garage installations in shoulder seasons. Cold temperatures slow cure and can prevent proper bonding.
When to Hire a Professional Tile Installer
Tile installation rewards patience and preparation, but certain situations significantly increase the risk of a failed DIY project:
Large format tile (24"×24" or larger)
Requires precise subfloor flatness (within 1/8" over 10 feet), back-buttering technique and a professional-grade wet saw. Lippage (uneven edges) is extremely visible on large format, difficult to hide.
Heated tile floors (electric radmat or hydronic)
Installing tile over in-floor heating requires specific thinset, proper placement of the heating element and sensor and coordination with an electrician. Errors can damage the heating system permanently.
Natural stone in wet areas
Stone must be sealed before grouting, sealed again after and periodically thereafter. Improper sealing in a shower or steam room leads to staining and water damage that is very difficult to reverse.
Shower walls and pan
Shower waterproofing (liner or membrane system) is critical and unforgiving. A leak behind a tiled shower wall can go undetected for months and cause thousands in structural damage. This is a job for an experienced tile setter.
Need a Tile Installer in Ohio?
Whether it is a bathroom floor, kitchen backsplash or full shower surround, Contractor Palace matches you with independent local tile flooring professionals across Ohio. All installers are independent. Ask your pro for their license and proof of insurance.
FAQ: Tile Flooring Installation
How long does it take to install tile flooring in a bathroom?
A typical 50 to 80 square foot bathroom floor takes an experienced DIYer 2 to 3 days: one day for subfloor prep and layout, one day for setting tile (plus 24-hour cure) and one day for grouting and cleanup. Add another day if you need to mix and apply a floor leveler. Professional tile installers can often complete the same job in one day.
What type of tile is best for bathroom floors?
Porcelain tile with a slip-resistant texture (PEI rating of 3 or higher) is the most durable and water-resistant choice for bathroom floors. It resists moisture, staining and heavy traffic better than ceramic. Natural stone adds beauty but requires sealing every 1 to 2 years and is more expensive. For a budget bathroom remodel, ceramic tile is a reliable and affordable option.
Do I need to remove the old flooring before tiling?
It depends on the existing floor and height. You can tile over vinyl sheet flooring if it is firmly bonded and in good condition, but only one layer. You can tile over an existing tile floor if it is structurally sound (no cracks, no flex), but it will raise the floor height significantly and may cause transition issues at doorways. Tile over hardwood is not recommended, hardwood flexes with humidity and will crack the grout and tile over time.
How thick should the thinset be when installing tile?
For most floor tiles, apply thinset to achieve a final bed depth of 3/16 inch to 1/4 inch under the tile. Use the notch trowel size recommended for your tile, typically a 1/4-inch x 3/8-inch V-notch for tiles up to 12 inches and a 1/2-inch x 1/2-inch square-notch for large format tiles (16 inches and above). Back-butter large tiles with an additional thin coat of thinset on the tile itself to prevent hollow spots.
How soon can I walk on tile after installation?
Do not walk on freshly set tile for at least 24 hours, most thinset mortars need that time to cure sufficiently. After 24 hours, you can carefully walk on it to do the grouting. Do not allow heavy traffic or place furniture on the new tile for at least 72 hours. Full cure (when you can consider the installation complete) is typically 28 days for standard Portland cement-based thinset.
How do I prevent grout from cracking?
Grout cracks are almost always caused by a problem with the substrate, usually a floor that flexes or deflects when walked on or a crack in the concrete slab. Fix deflection before tiling (add floor leveler or additional subfloor support). Also leave expansion joints (filled with caulk, not grout) at all corners, transitions and large field joints. Never use grout in corners, it will crack within months.
What is the difference between sanded and unsanded grout?
Sanded grout contains fine sand aggregate and is used for grout joints wider than 1/8 inch. The sand prevents shrinkage and cracking in wider joints. Unsanded grout is smooth and is used for narrow joints (1/16 to 1/8 inch), commonly used for wall tile and polished stone where sanded grout could scratch the surface. Using the wrong type causes joint failure, cracking or surface damage.
Contractor Palace
Get your tile flooring installed right.
Get your tile flooring installed right the first time. Contractor Palace connects you with independent local tile professionals in Ohio.