
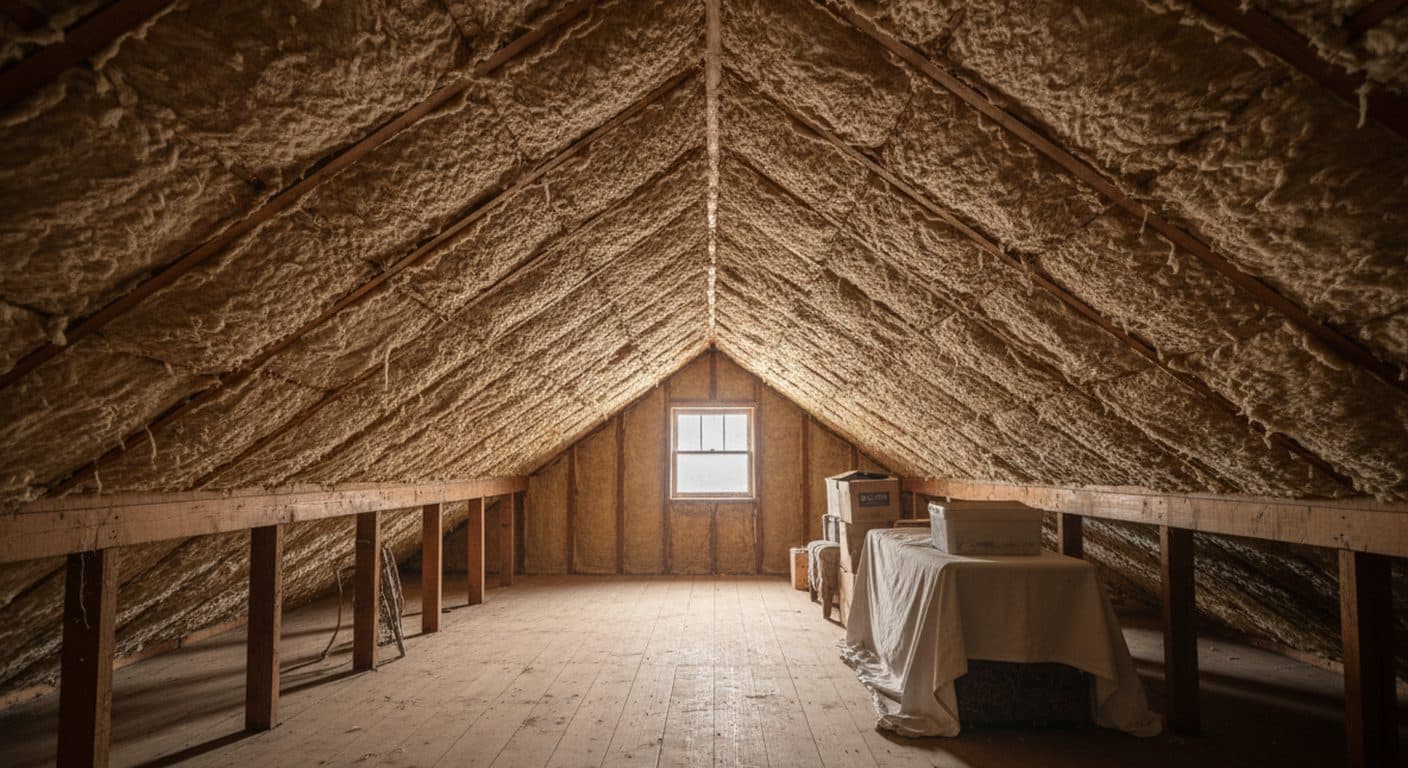
The upstairs bedrooms are cold in January and hot in July, the heating bill keeps climbing and last winter there were icicles along the gutters. The attic is the first place to look.
Knowing how to add attic insulation is mostly about doing three things in the right order: find out what you have, seal the air leaks and then add enough insulation to reach the level for your climate. ENERGY STAR calls the attic the easiest place in the house to add insulation. This guide walks through each step, the safety checks that come first and the attic problems that mean you should hire a pro instead.
Step 1: Check the Insulation You Already Have
Bring a flashlight, a tape measure, gloves, safety glasses and a dust mask. Walk only on the joists or on boards laid across them. Stepping between joists can put a foot through the ceiling below. Watch for roofing nails poking through overhead.
The quick look
ENERGY STAR's DIY attic check says that if the insulation is level with or below the floor joists, you probably need more. If you cannot see the joists at all, you probably have enough. Check the edges too. Insulation is often deep in the middle and thin along the eaves.
The measurement
Push a ruler down to the ceiling and read the depth in a few spots. Most common attic insulation (fiberglass, cellulose and mineral wool) adds about R-3 per inch, so 6 inches is roughly R-18. Batts often have the R-value printed on the paper backing.
Stop if you see this
Light, pea-size, flaky gray or brown pebbles may be vermiculite, which can contain asbestos. ENERGY STAR says not to disturb it until an approved lab has tested it. Your local health department can tell you where to send a sample.
Step 2: Work Out How Much to Add
Insulation is rated by R-value, which measures how well it slows heat. Higher is better. ENERGY STAR's recommended R-values by climate zone look like this for an attic floor in an existing home:
Colder zones (4 through 8)
R-60 if the attic has no insulation now. R-49 to add if you already have 3 to 4 inches.
Mild zones (2 and 3)
R-49 if the attic has no insulation now. R-38 to add if you already have 3 to 4 inches.
Hottest zone (1)
R-30 if the attic has no insulation now. R-25 to add if you already have 3 to 4 inches.
The ENERGY STAR page has a map so you can find your zone. Most northern states sit in the colder zones. At about R-3 per inch, R-49 to R-60 means roughly 16 to 20 inches of depth in total.
Step 3: Seal Air Leaks Before You Add Attic Insulation
This is the step most people skip. The EPA recommends air sealing before adding attic insulation, because insulation slows heat but does not stop warm air from flowing up through gaps. ENERGY STAR's sealing and insulating guide says to plug the big holes first. The biggest leaks are usually:
Where to seal
· The tops of inside and outside walls where they meet the attic floor
· Dropped ceilings over kitchen cabinets and bathtubs (called soffits), which can be open boxes underneath
· Gaps around plumbing vents, wires and the chimney
· Recessed lights and the attic hatch or pull-down stairs
· Behind the knee walls of a finished attic room
One clue helps: dirty, dark patches on top of old insulation mean air has been moving through it. Look under those spots first. Gaps around chimneys and furnace flues need special materials that can take heat, so leave those to a pro if you are not sure.
According to the EPA's estimate for a typical home, air sealing and adding insulation in attics, floors over crawl spaces and basement rim joists saves an average of 15% on heating and cooling costs. Savings are higher in the North.
Step 4: How to Add Attic Insulation So It Works
Keep the eaves open first
Before adding depth, staple baffles (also called rafter vents) between the rafters at the eaves. They hold insulation back from the soffit vents so cold outside air can still flow under the roof. Blocked vents are a common cause of attic moisture and ice dams.
Blown-in (loose fill)
Loose cellulose, fiberglass or mineral wool blown across the attic floor with a machine. It fills around wires and odd shapes and spreads evenly. ENERGY STAR notes that some home improvement stores rent the machine, but it may be wise to hire a pro for this one.
Batts or rolls
Precut blankets you lay by hand. Easier to handle without a machine, but they leave gaps around wires and pipes if not cut carefully. When laying batts over old insulation, use unfaced batts with no paper or foil backing, and once the old layer is level with the joists, run the new layer across them rather than between them.
Keep clear of heat
Keep insulation back from chimneys, flues and any light fixture not rated to be covered. Do not cover the attic hatch with loose fill. Insulate and weatherstrip the hatch itself instead.
Live where it snows? Our guide to preventing ice dams shows why an even layer all the way to the eaves matters so much in snow country.
A Two-Minute Check From the Hatch
The one thing you can check yourself
Pop the attic hatch, stand on the ladder and shine a flashlight across the attic floor. Can you see the tops of the wooden joists? If yes, you almost certainly need more insulation. Then push a ruler down into the insulation next to the hatch and take a photo of the reading. Multiply the inches by 3 for a rough R-value, and compare it with the level for your zone above.
Send that photo with your booking. It tells the pro what they are working with before they arrive.
When to Call a Pro Instead
ENERGY STAR's attic insulation project page recommends getting professional help first if you find any of these:
Wet or damp insulation
Usually a sign of a roof leak. Have a roofer fix the leak before any new insulation goes in. Roofing services.
Mold or rotted wood
Points to a moisture problem that new insulation would hide and trap.
Bathroom, kitchen or dryer vents that end in the attic
They pump warm, wet air into the attic. They need to be ducted outside first. HVAC services.
Knob and tube wiring
Old wiring from before about 1930 can be a fire hazard when buried in insulation. Have an electrician look before you add any. Electrical services.
Little or no ventilation, or a hard-to-reach attic
Tight attics and missing vents are slow, risky work for a homeowner.
The price of the job depends on the size of the attic, how much air sealing it needs, whether old insulation has to come out first, the material and the depth you are adding. Many utilities offer rebates for air sealing and insulation, so check with yours before you book. Whoever you hire, ask for the scope, the material and the final R-value in writing.
How to Add Attic Insulation: Common Questions
How do I know if my attic needs more insulation?
Look across the attic floor. ENERGY STAR says that if the insulation is level with or below the floor joists, so you can easily see them, you probably need more. If you cannot see any joists because the insulation is well above them, you probably have enough. Also check the edges, because insulation is often thin along the eaves.
How much attic insulation do I need?
It depends on your climate zone. ENERGY STAR's table of recommended levels calls for R-60 in an uninsulated attic in zones 4 to 8, R-49 in zones 2 and 3 and R-30 in zone 1, the hottest. Most common attic insulation adds about R-3 per inch, so that usually means well over a foot of depth.
Can I put new insulation on top of old insulation?
Usually yes, as long as the old insulation is dry, clean and not vermiculite. ENERGY STAR says you can add loose fill on top of batts and batts on top of loose fill. If you lay batts over existing insulation, use unfaced batts with no paper or foil backing.
Should I seal air leaks before adding insulation?
Yes. The EPA recommends air sealing the attic before adding insulation. Insulation slows heat, but warm air still flows through gaps around lights, pipes, wiring and the attic hatch. Once new insulation is piled on top, those gaps are much harder to reach.
Is adding attic insulation a DIY job?
It can be. ENERGY STAR rates it a moderate to difficult project that takes a homeowner 1 to 3 days and a contractor 1 to 2. Blown-in insulation needs a blowing machine, which some home improvement stores rent. Hire a pro if the attic is hard to get around in, or if you find moisture, mold, old wiring or vermiculite.
What is the gray, pebbly insulation in my attic?
Light, pea-size, flaky gray or brown pieces may be vermiculite, which can contain asbestos. ENERGY STAR says not to disturb it until it has been tested by an approved lab. Your local health department can tell you where to send a sample. Do not add insulation on top or move it until you know.
Find an Insulation Pro
Start with our insulation services. If one room is always warmer or colder than the rest, read why one room is always hotter too.
Contractor Palace
A warmer house starts in the attic.
Tell us what you found in the attic. We match you with one independent local pro for air sealing and insulation, with the scope and price in writing.